3. Installing Persona 3 FES: HD Overhaul#
(If you don’t want to use this mod, you can skip this step.)
1. Open up the Persona 3 FES HD Overhaul 7z file, either by double clicking, or right click, hover over “7-Zip”, and “Open archive.”
a. In the 7-zip file manager, navigate to the following. Each folder is opened with a double click. “Persona 3 FES HD Overhaul” > “Base Mod” > “PCSX2 DIR”


Note
Under Linux you will want to drag and drop the textures from P3HD to “~/.config/PCSX2” instead
b. Inside the folder you will have one folder named “textures.” Drag and drop that into your PCSX2 directory that you should still have open from earlier.

It will look like this if you’ve done it right.

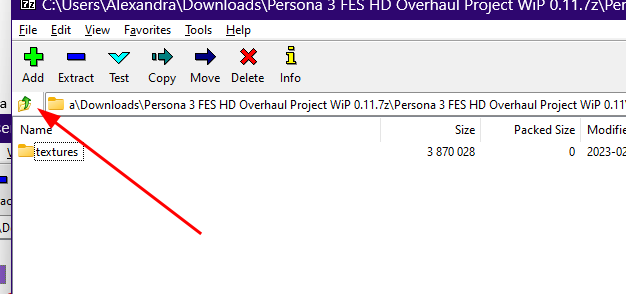
c. Optional: Click the up button in 7-Zip File Manager twice to get back to the folder that has “Base Mod” / “Extras”
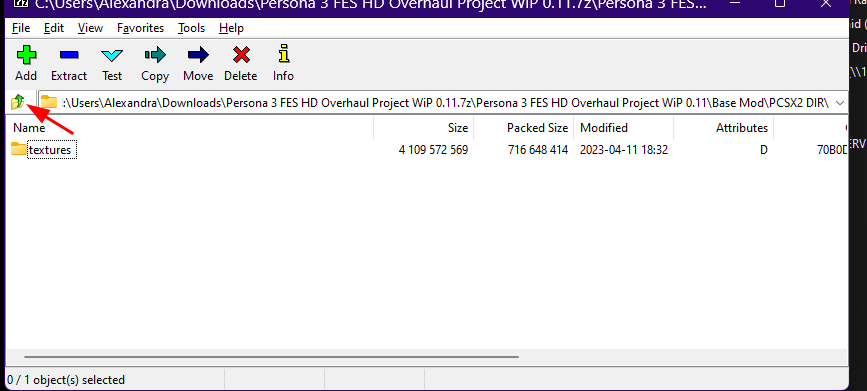
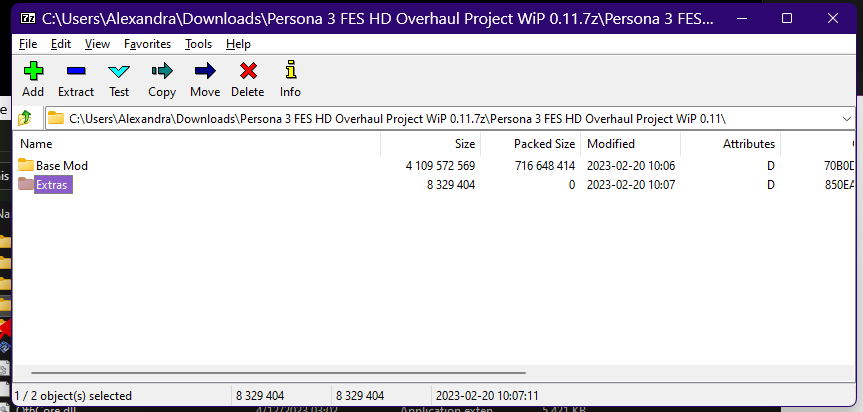
Navigate into the “Extras” folder.

For each extra you want, double click the folder, then double click
“PCSX2 DIR”, then copy over textures into PCSX2 like you did
earlier. This time you’ll be asked if you want to overwrite files, be
sure to click “Replace the files in the destination.”


Then press the up arrow twice to get back to the extras folder and
repeat for any other extras you want