4. Setting up Aemulus for Mods#
Note
If on Linux, replace instances of C:\Emulation with ~/Documents/P3FMods where ~ refers to your home folder. If for some reason you haven’t installed aemulus, go to Installing Aemulus on Linux. Replace instances of opening the Aemulus exe with opening up Aemulus from your launcher.
1. Navigate back to your C:\Emulation (Or whatever you named it) folder you made earlier using then double click your Aemulus folder.
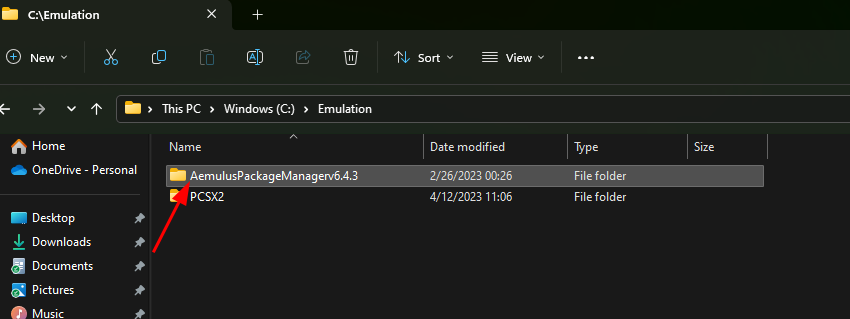
2. Double click “AemulusPackageManager.exe” to open it.

3. When you first open it, it will default to “Persona 4 Golden.” Click the game icon and change it to “Persona 3 FES.”


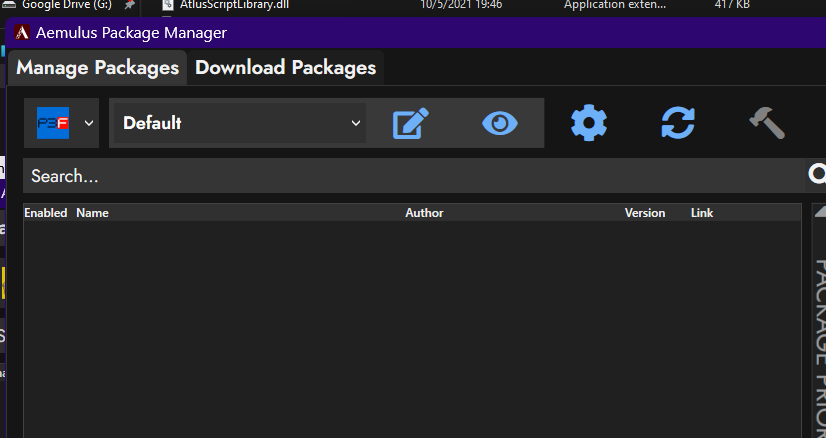
4. Click the gear icon to open the settings screen.

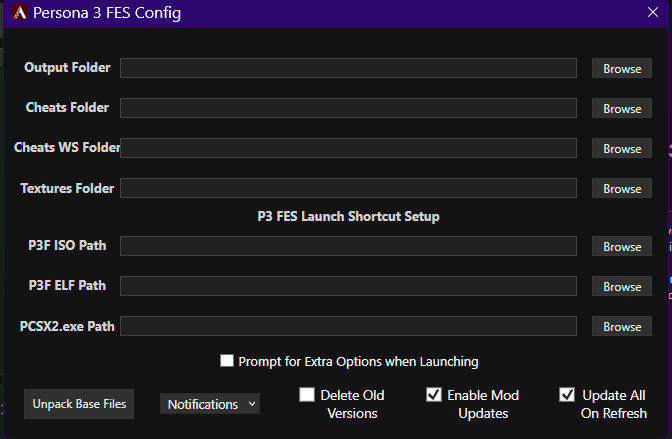
5. To ensure your paths are completely accurate, this guide recommends using the “Browse” button for each line, the paths this guide will use will be included at the end of this section, but do note if you changed the name of your Emulation, MOD, ROM, or PCSX2 folders, or set this up on a different drive, your paths will differ slightly.

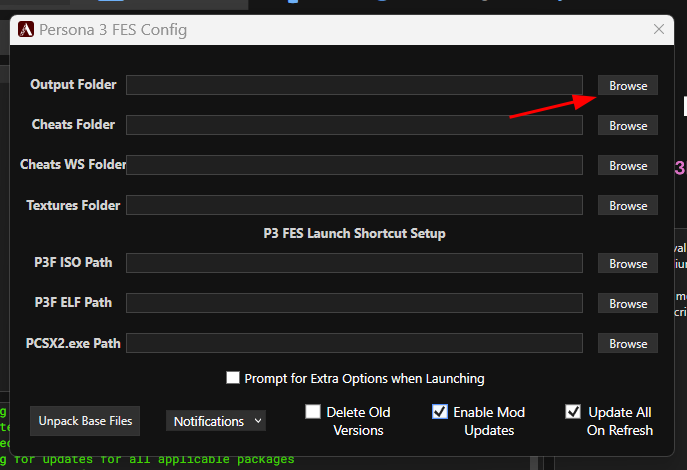
6. Setting up your “Output” folder. Click “Browse”, in the window that pops up
a. click “This PC”, then double click your C drive
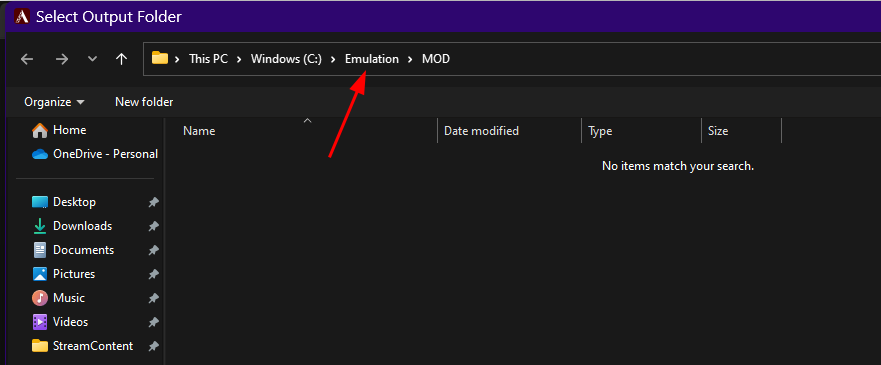
b. then double click Emulation, then double click MOD
c. then you’ll have an empty folder, which you’ll click “Select Folder” at the bottom right.


Note
If on Linux, PCSX2 stores Cheats and Textures in “~/.config/PCSX2”. Replace instances of Cheats and Textures path with “Z:home<username>.configPCSX2Cheats” and “Z:home<username>.configPCSX2TexturesSLUS-21621replacements”.
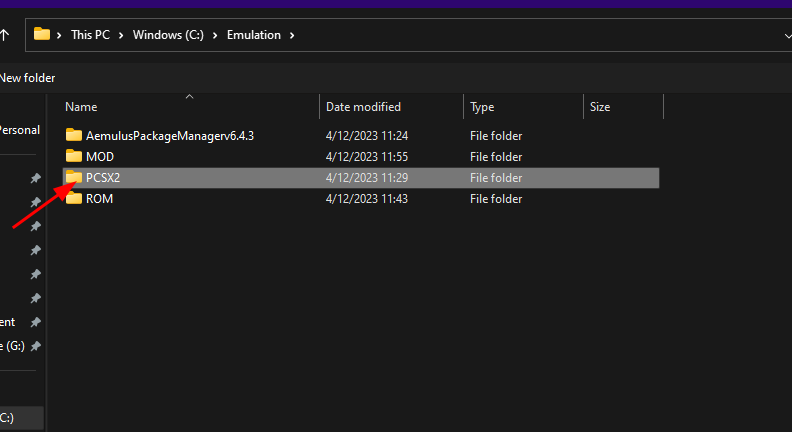
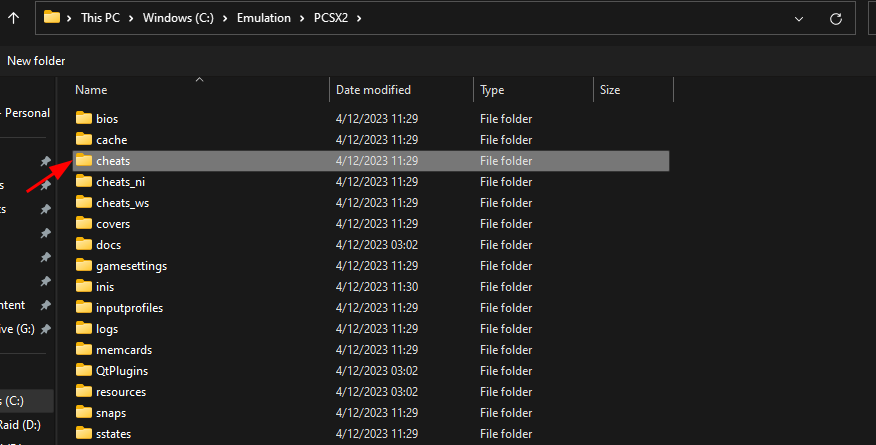
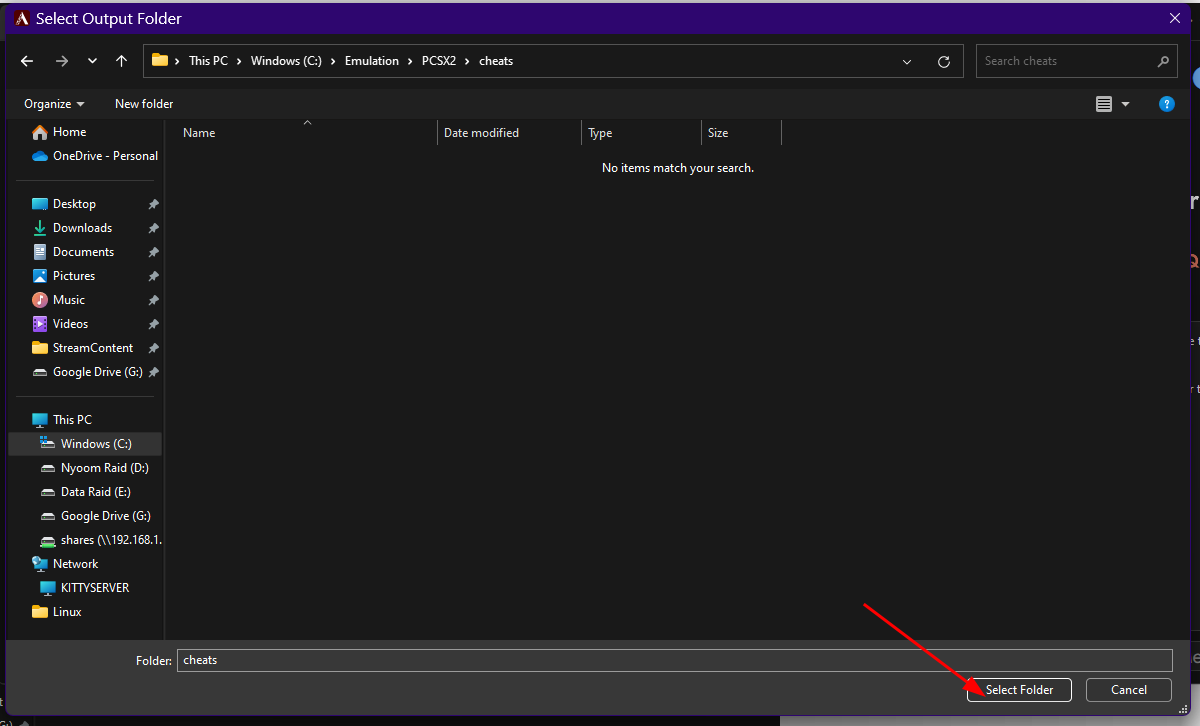
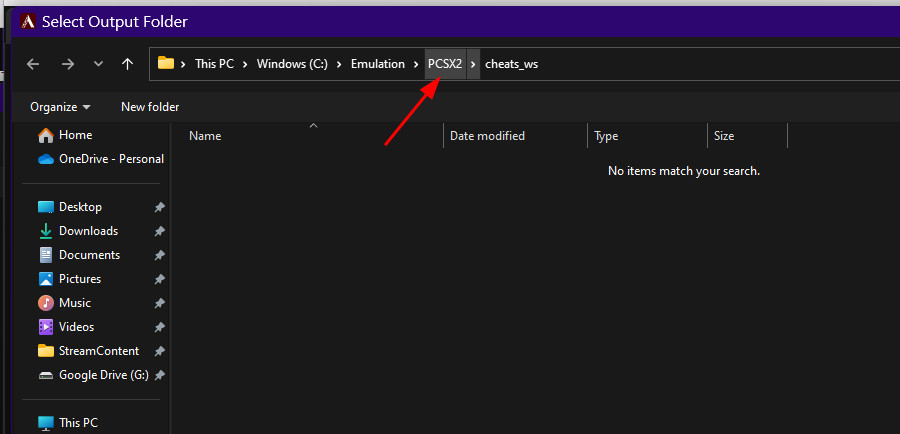
7. Setting up the “Cheats” and “Cheats WS” folder, you’ll click “Browse” next to cheats. Since your C:\Emulation\MOD folder is the last one selected, it will automatically open to that path. Note: Cheats_WS no longer exists in new pcsx2 installs.
a. Click emulation at the top,
b. Then double click PCSX2.
c. Double click cheats.
d. Then click Select Folder.
e. Repeat these steps for Cheats WS by clicking browse.
f. Then click the PCSX2 Button up top.
g. Then click the cheats_ws folder.
h. Then click “Select folder.”

8. Next we’ll set the textures folder path. If you’re not using P3HD for whatever reason, this step may be skipped.
a. Click “Browse” next to the “Textures” line.
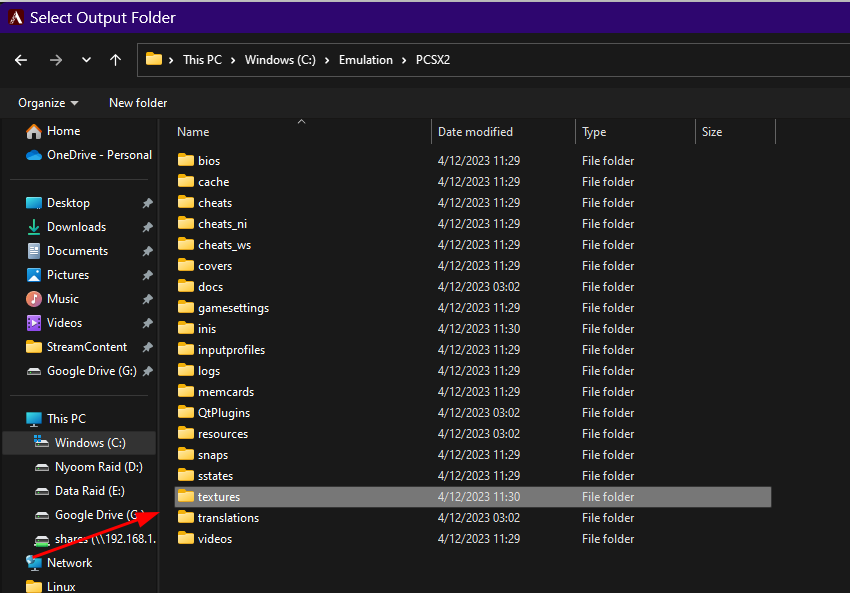
b. Click PCSX2 at the top.
c. Double click the textures folder.
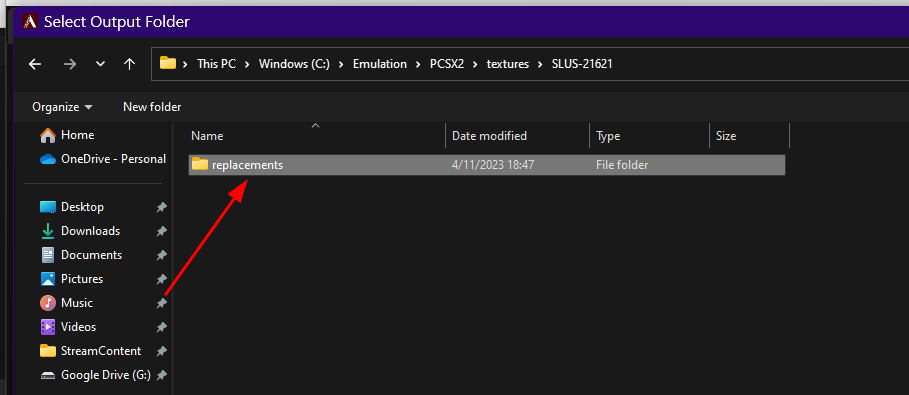
d. Double click SLUS-21621 (if it doesn’t exist, right click > new > folder and give it that name, then double click it – if you had to do this step, you should probably go back and follow the Persona 3 HD Overhaul steps as the folder was made during that process).
e. Then double click replacements.
f. Then click “Select Folder.”



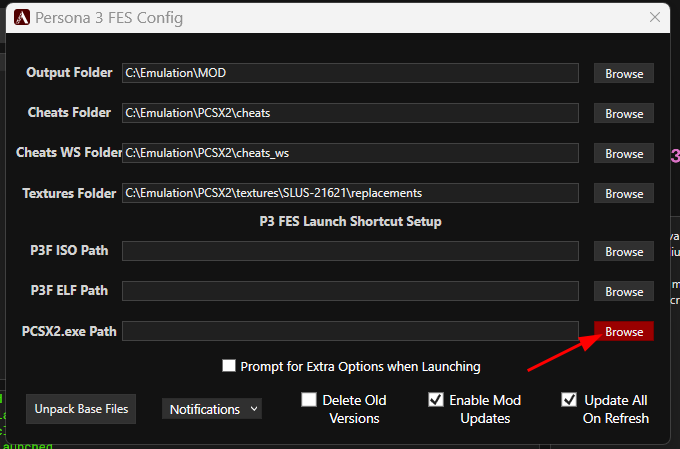
9. Next we’re going to select the “PCSX2.exe path” (this is technically optional but included for completeness sake). This step is done out of order to make it easier to follow the directory structures.
a. Click “Browse” on the “PCSX2.exe” line.
b. Then click the PCSX2 button in the address bar at the top.
c. Then double click your pcsx2-qt.exe (In some cases it may be named pcsx2-qt-av2.exe instead). Please be aware that Aemulus launching is busted at the time of this writing. Do not use the launch option via Aemulus. Instead either launch the game through steam, create your own shortcut to launch the game, or start the game via PCSX2.
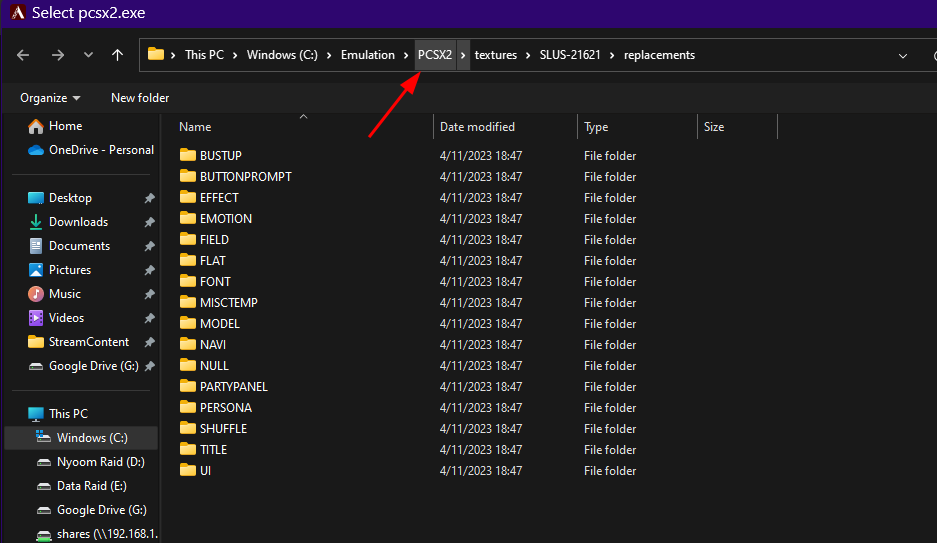
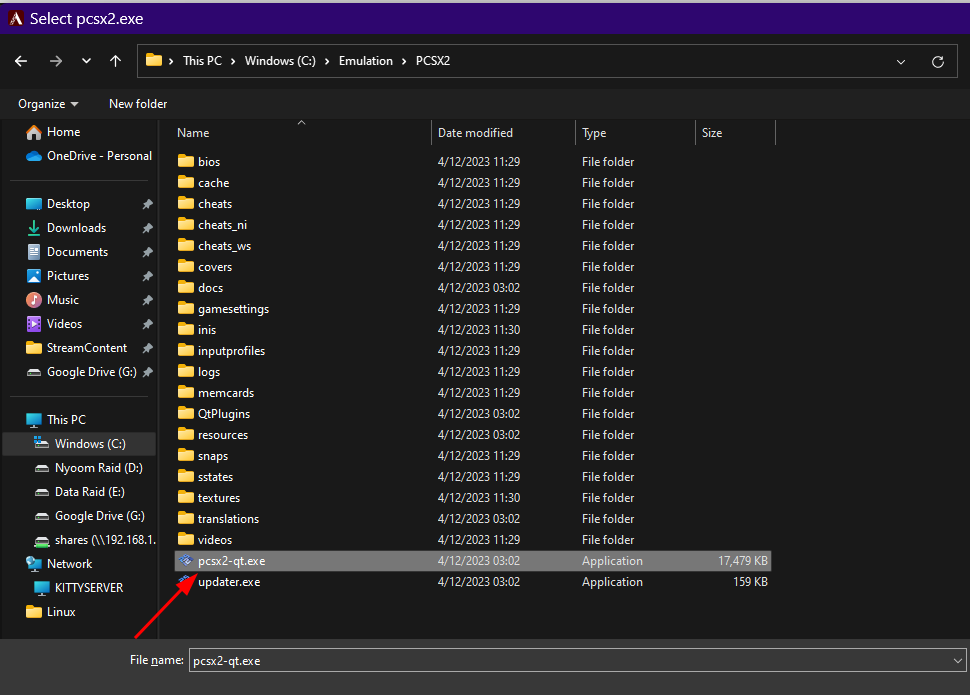
10. Next we will be selecting your “P3F ISO path.”
a. Click “Browse” on the “P3F ISO” path line.
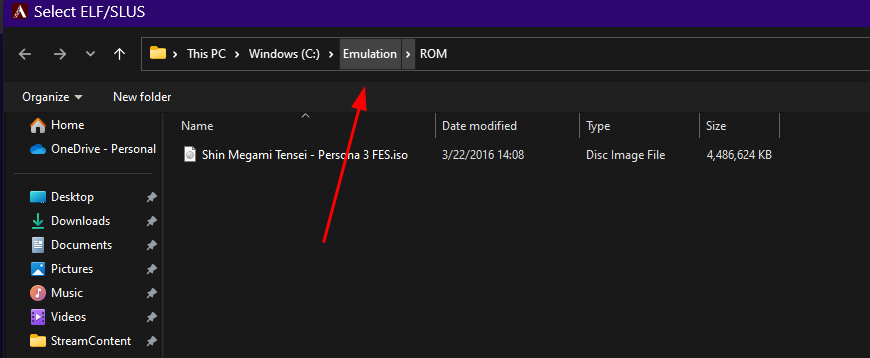
b. Then click Emulation in the address bar at the top.
c. Then double click ROM.
d. Then double click your Persona 3 FES.iso file.
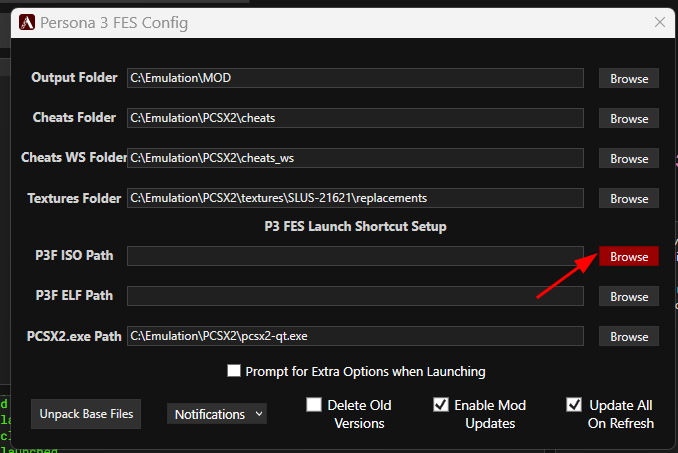


11. Next, we’ll set the ELF path.
a. Click “Browse” on the “P3F ELF path” line.
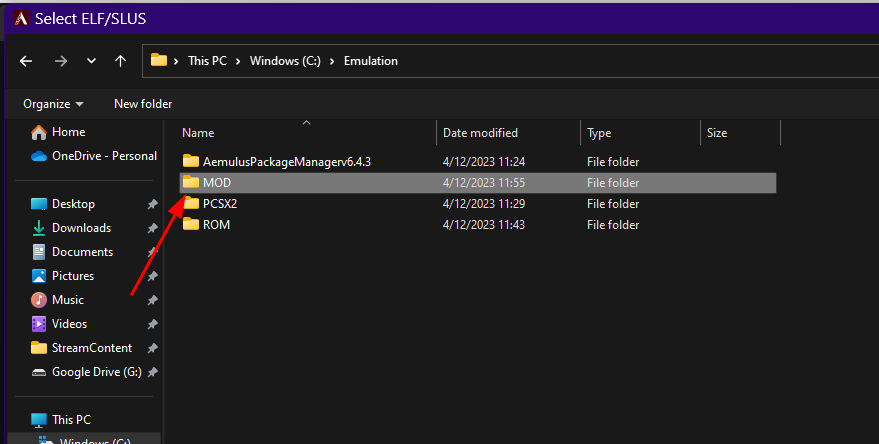
b. Click emulation in the address bar at the top.
c. Then double click the MOD folder.
d. Then double click your Persona 3 FES.ELF file.
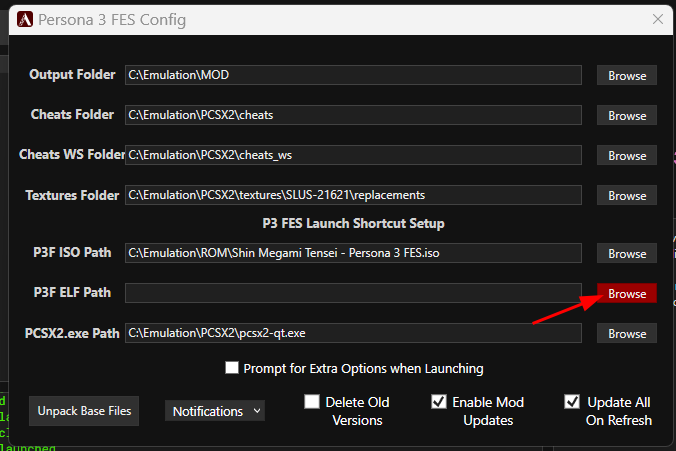

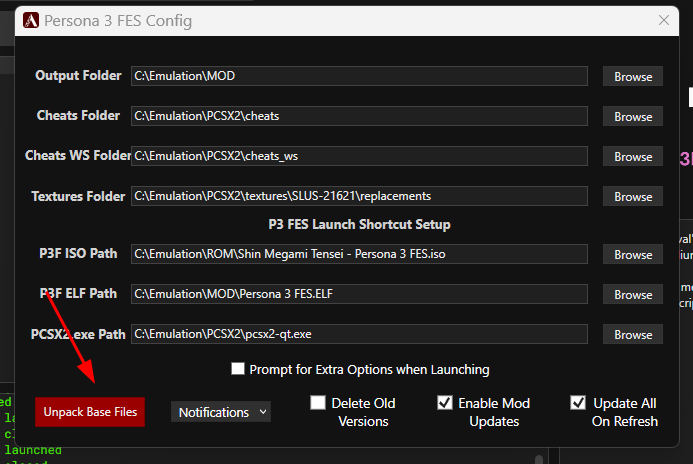
12. Next, in Aemulus settings, click the “Delete Old Versions” checkbox so that it is checked. Any time a mod is updated, the old package is removed. (Explanation: Aemulus caches old versions of packages but hides them in the interface, this will reduce the amount of space required for your install. Anytime there is a mod update, it is worth checking the mod page prior to updating in the event of any breaking issues.)

13. Next, we’re going to unpack the base files. The reason for doing this is to enable an Aemulus feature called BIN merging. This effectively increases mod cross compatibility when utilized. Click the “Unpack Base Files” button in the settings screen.
14. The application will seemingly lock up, but in the log you’ll see some output from it showing that its extracting files. Just hang tight and wait for it to finish.

15. Once done Aemulus will give you a window saying “Finished Unpacking” click “OK” on that and now we can move to installing mods.
