6. PCSX2 Setup#
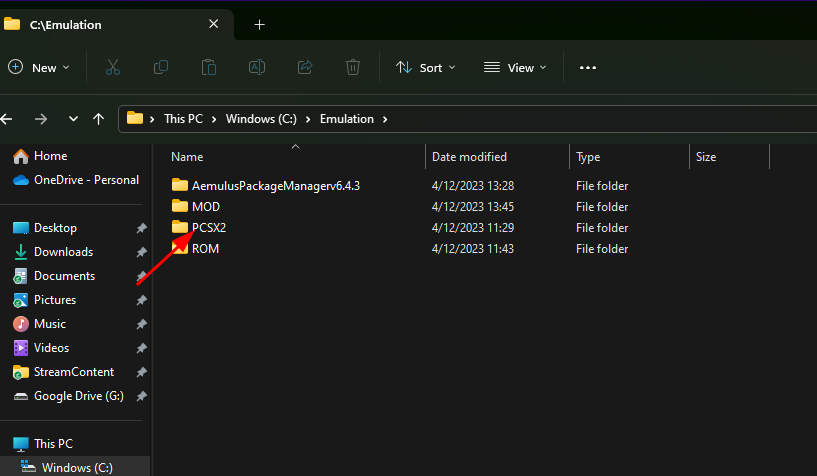
1. Re-use an open File Explorer window or open a new one, and navigate to C:\Emulation\PCSX2 or whatever you named those two folders earlier.


2. Download the HostFS cheat here. (There is a 16:9 patch included in the link as well.)
3. Open another file explorer window and navigate to your downloads folder by clicking downloads under the Quick Access area.

4. In the PCSX2 folder, open the cheats folder

5. Drag and drop the HostFS and Wide (if you downloaded wide!) cheats into the PCSX2 cheats directory we just opened.
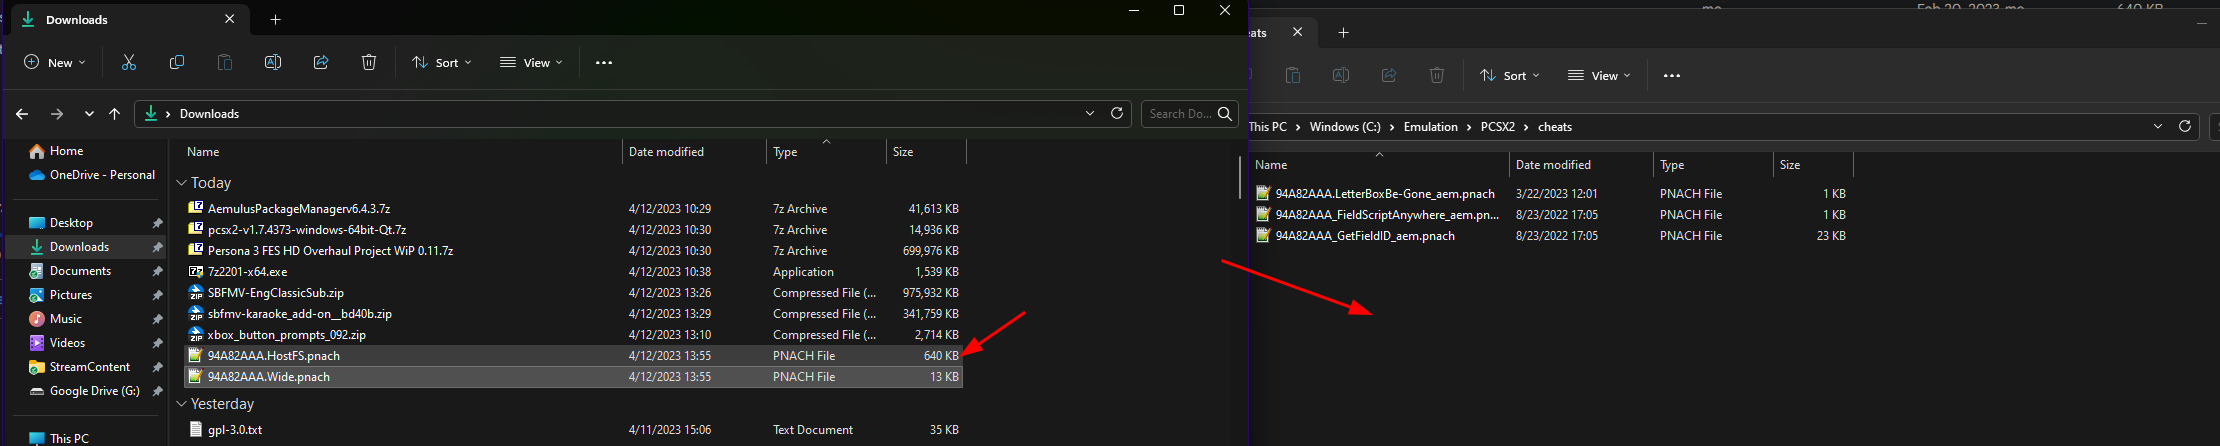
6. Don’t be alarmed if you see there are already cheats in the folder, as Aemulus put these in for you when you built your mods earlier. When finished your cheats folder should look similar to this, you may have more cheats depending on the mods you have installed.

7. Navigate back to your PCSX2 folder by clicking PCSX2 in the address bar.

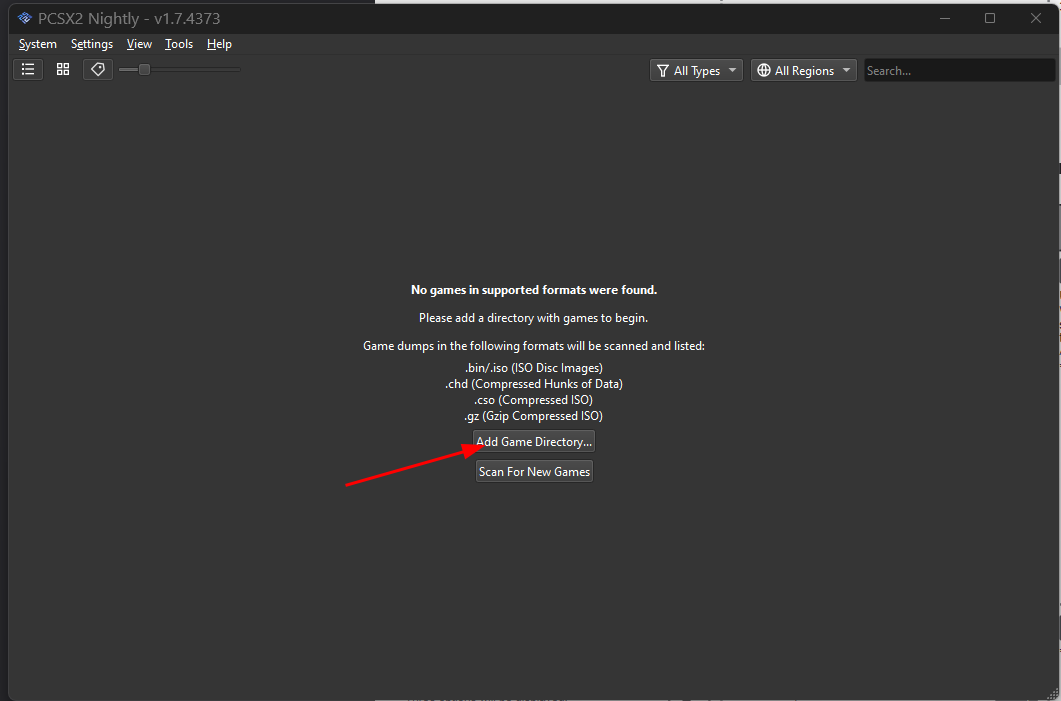
8. Open the pcsx2-qt.exe (or pcsx2-qt-av2.exe or for Linux pcsx2-v1.7.5397-linux-appimage-x64-Qt.AppImage) file.

9. Once PCSX2 is open click “Add Game Directory…”, if you’re using a previously used install of PCSX2, and you have a populated list, right click and click “Add Search Directory…”

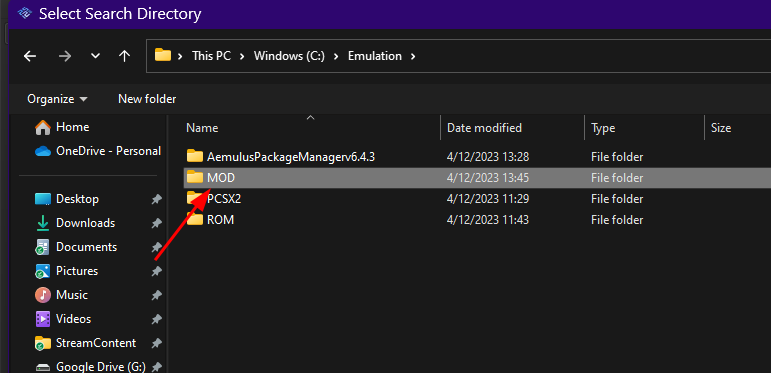
10. Click the emulation button at the top of the address bar, then click MOD, then click “Select Folder.”


11. You’ll get a popup asking if you want to search recursively. Just click “No” for this one.

12. If completed correctly you should now have an entry that says something like “PERSONA 3 FES”, right click it, and click “Properties.”
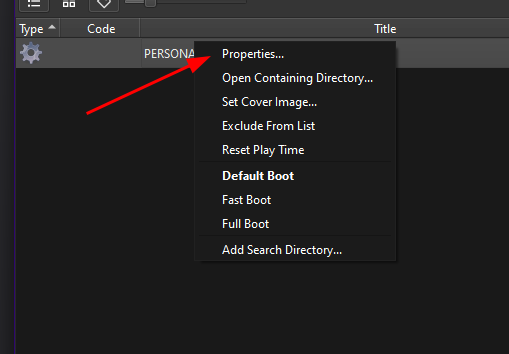
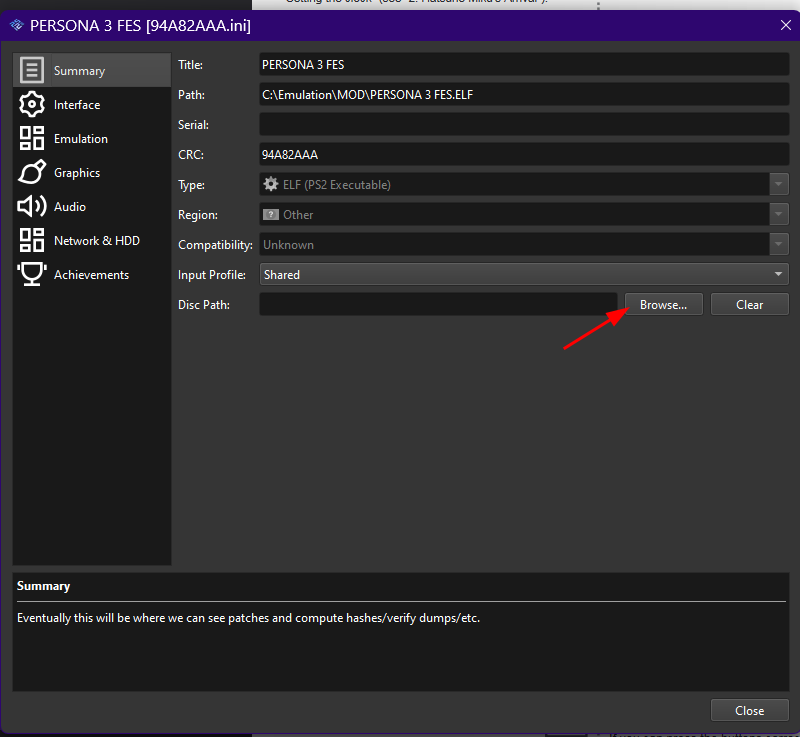
13. Click “Browse…” next to where it says “Disc Path:”
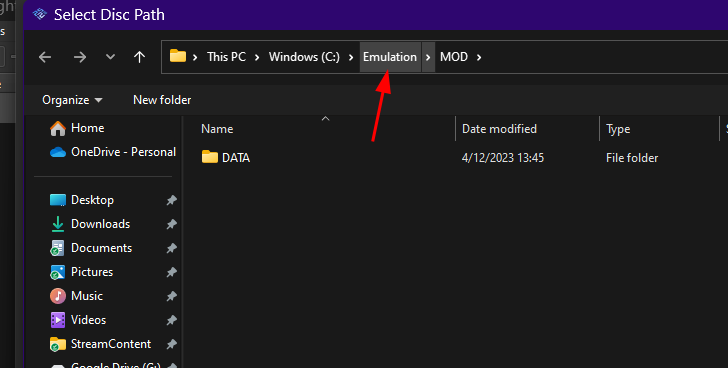
14. Click Emulation in the address bar at the top, then double click ROM, then double click your Persona 3 FES.iso file


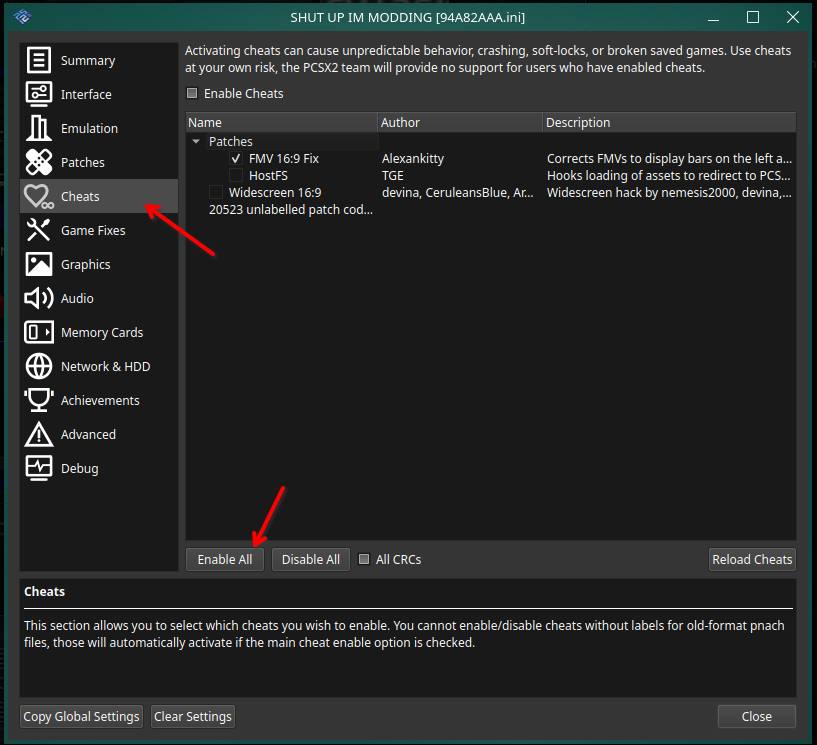
15. After that, if you’re running the latest nightly version, click “Cheats” then click “Enable All”. If you’re missing the cheats option on the left, you can ignore this step and continue on.
16. Once that’s done, your game properties should look similar to this. Go ahead and click “Close” now.

17. Next click “Settings”, then click “Emulation.”

18. In the window that pops up, click the checkbox next to “Enable Cheats” along with “Enable Host Filesystem” so that they’re both checked like in the screenshot provided below.

19. Next, click on “Graphics.”

20. Set “Renderer” to “Vulkan” if it’s available, or to “Direct3D12”, or 11 if it’s not.
a. Set your adapter to match with your GPU name.
b. Set your Aspect ratio to 4:3 if you want to play in the original aspect ratio, or 16:9 if you want to play in widescreen.
c. FMV Aspect ratio should be set to 4:3, or if you’re using the true widescreen opening from Simply Better FMVs then this should be set to “Widescreen (16:9).”
d. Make sure you keep “Enable Widescreen Patches” unchecked.

21. Next click the “Rendering” tab.
a. Set “Internal Resolution” to either the same approximate size as your display, or to +1x more than it. In this example we’ll assume you’re using a 1920x1080 display, and will recommend you set 4x for Native. If you’re experiencing slowdowns, be sure to decrease this value. If you set it below 2x, you will no longer see an improvement from P3HD.
b. If you’re on an AMD GPU, you also must set “Texture Filtering” to “Bilinear (Forced)” for anyone else it should be set to “Bilinear (PS2)”. The rest of the settings will be up to your preference.

22. Click the “Texture Replacement” tab, the “Search Directory” should be auto populated to “C:\Emulation\PCSX2\Textures” if you followed this guide to a tee, otherwise it will be the textures folder of wherever you placed PCSX2. You should never need to change this option as storing your textures elsewhere is not covered by this guide. Click the “Load Textures” checkbox so that it is checked. “Async Texture Loading” is checked by default.

23. Lastly, click “BIOS” and double check that you have a BIOS properly installed, else it’ll fail to boot. If you have a USA bios showing in your BIOS Selection, you should be all set.

24. Click “Close” in PCSX2 settings.

25. Double click Persona 3 FES in your game list to launch the game.

26. To fix the window size you can either double click the screen to switch to full screen mode, or click “View”, then “Window Size”, then set it to one less than the “Internal Resolution” you picked.

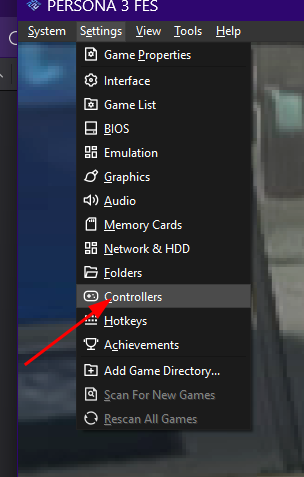
27. Finally, click “Settings”, then “Controllers”, then click “Controller Port 1 DualShock 2.”
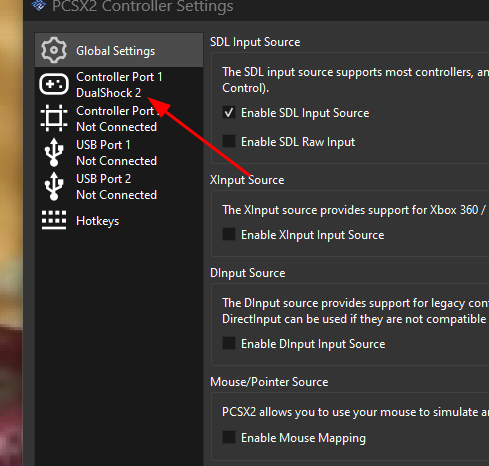
28. If you’re using a controller, you can select “Automatic Mapping”, and then find your controller in the list, if you’re using a keyboard there are some defaults already set, but you can click each button in the window to remap them to how you see fit.

